If you are a frequent reader of this blog you know that I pretty much eat, sleep and breathe printables (and also fonts, weddings, and sometimes cupcakes). When I first started creating printables I had the design part down, but there was A LOT that I didn’t know— including how to share the files, who to share them with, and what I should even be sharing. With each printable I created, the more I learned. Today, I can design them in my sleep (and I seriously have had dreams about them before).
Here’s a list of tips I wish I’d had when I designed my first printable (and second, and third…)
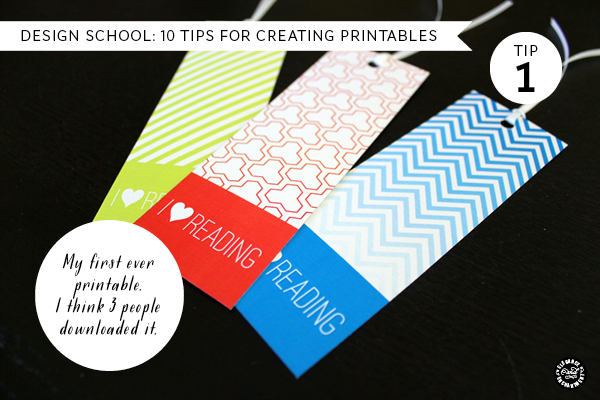
1. Ask your audience
You know that you’ve been wanting to create printables for a long time, but aren’t sure what to share first. The best way to find out what your readers are looking for is to simply ask your audience. Consider consulting your mailing list (I just did this myself last week), or even setting up a poll on Facebook to help you make your decision.
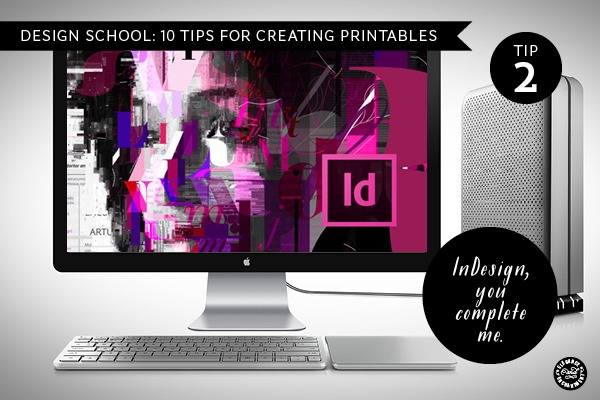
2. Find the best program for you
Now that you know what you will be designing, determine which program you feel the most comfortable working in. There are tons of bloggers who create their printables using programs that are already on their computer, like Microsoft Word or Photoshop Elements. Adobe InDesign is the program that I work in 85% of the time, and it’s what I have used to create all of my printables. You can read more about why this is my program of choice in this post. Other great free programs that you will want to check out are PicMonkey, PhotoBucket and Canva.
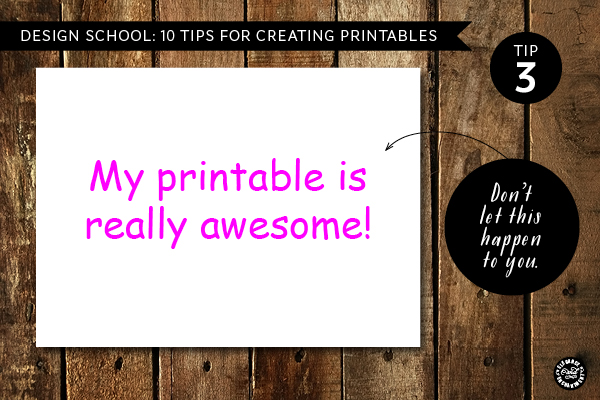
3. Include unique typography
I’m a little obsessed with fonts so you may think I’m biased, but in my opinion, typography is the biggest difference between an okay printable and a stellar printable. Nobody is going to want to print something that uses comic sans and looks like something they could have made on their own. Do your research and utilize some of the amazing free fonts that are out there. If you want to kick it up a notch, or decide that you want to sell some of your printables as I do on Etsy, or elsewhere, you’ll need to buy commercial licenses for your fonts. You can visit my favorite font shop here. If it was a brick and mortar store, they would know me by name.
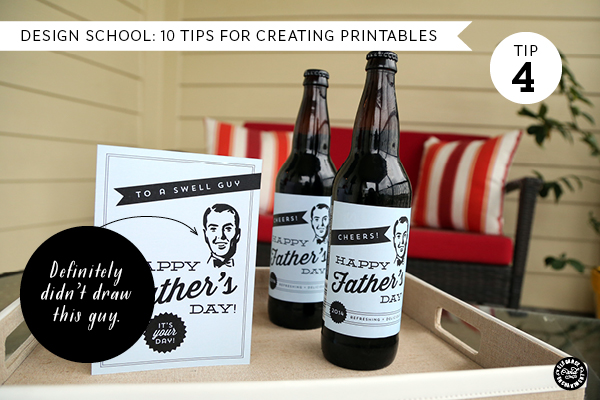
4. Utilize Clip Art
I love creating my own artwork, but it always takes me a really long time to come up with something I’m happy with. I have saved hours and hours of work by tapping into the many talented illustrators and stock photography sites that are out there. I purchase inexpensive clip art pretty frequently (almost as much fonts) and modify them to work within my piece. I have made it no secret that Creative Market is my favorite place to find artwork. You can see me gush more about them here.
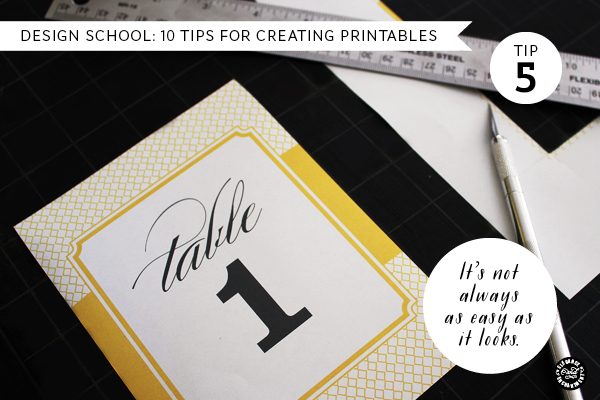
5. Give instructions
Your printable may be as easy as print and trim, but if it’s not, make sure to include some easy to follow steps for those (like me) who may not be the best DIY-er. It’s important to include suggestions on the type of paper they should use to print on and the size of the printed piece. If you are designing a specialty item like stickers, include a link to where your readers can purchase any materials they may not have at home.
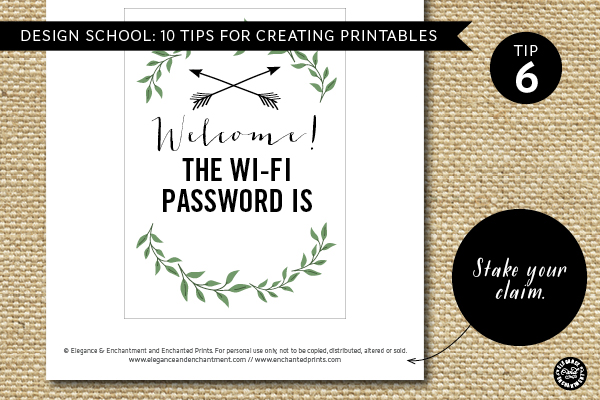
6. Don’t forget a copyright disclaimer
These next two steps are important ones. Unfortunately, we live in this internet world where content is stolen and copied on a regular basis. I know how much hard work goes into creating these printables so you will want to make sure that you are protecting yourself in case you discover that someone has claimed your stuff as their own. By including a small line of copy at the bottom of your page, you are making it clear that the printable you are sharing is for personal use only and that all rights belong to you. Don’t be afraid to include your URL and logo as well! I’m including my disclaimer below in case you would like to copy it and use it with your own business name:
© Elegance & Enchantment and Enchanted Prints. For personal use only, not to be copied, distributed, altered or sold. www.eleganceandenchantment.com // www.enchantedprints.com
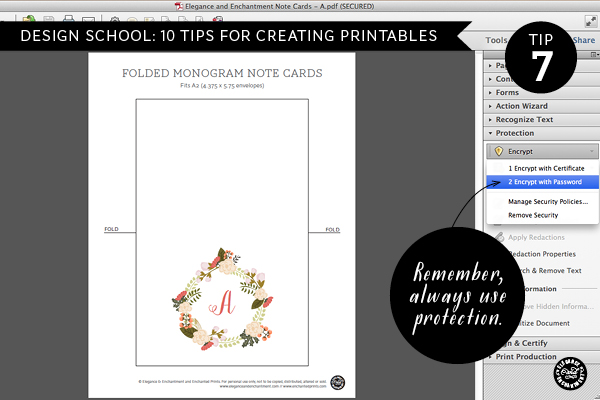
7. Password protect your files
The best way to REALLY prevent internet-stealers from poaching your work is to password protect the PDF files you share. Once your PDF is created, open it up in Adobe Acrobat, and look under Tools>Protection>Encrypt>Encrypt with a password. A window will pop up with options for you to password protect the file from anything other than printing. Just make sure not to check the box that will prevent them from printing it (which I have accidentally done on more than one occasion). To see where I failed at this, just check out the comments section in this post.
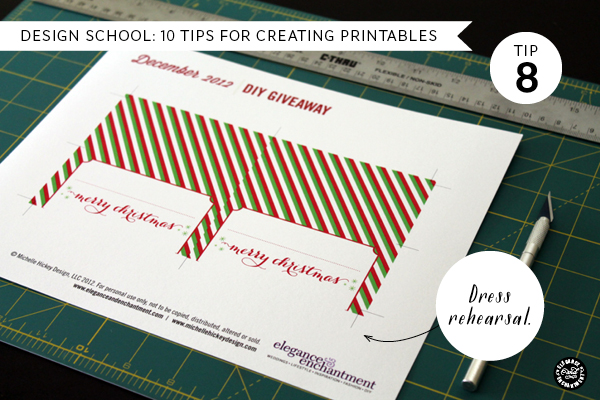
8. Run a test print
This one seems like a no brainer, but it doesn’t always get done. I know how it feels to be so proud of what you have created and so anxious to share it that you skip printing it out for yourself to make sure everything looks the way it should. I can’t tell you how many times I’ve designed something, printed it, and realized that it was way bigger, way smaller, or in a completely different color than I was expecting. Take the time to be the guinea pig, so your readers won’t have to.
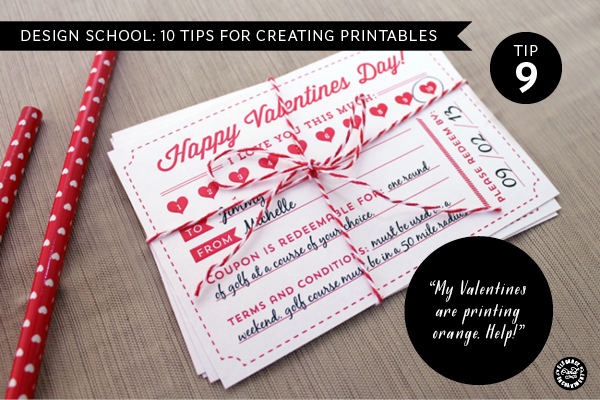
9. Be prepared for questions
If you did a really good job at following steps 5 and 8, these will be minimal, but you will definitely be getting some questions from your audience once your post goes live. Be patient with your readers who may not be the most tech-savvy and who may ask for some extra guidance when it comes to printer and color issues. Something I am still struggling with is where to draw the line between being a helpful designer and a technical support hotline. Use your best judgment in how much time you commit to troubleshooting and have resources handy that may be able to point your readers in the best direction for the specific assistance they need.
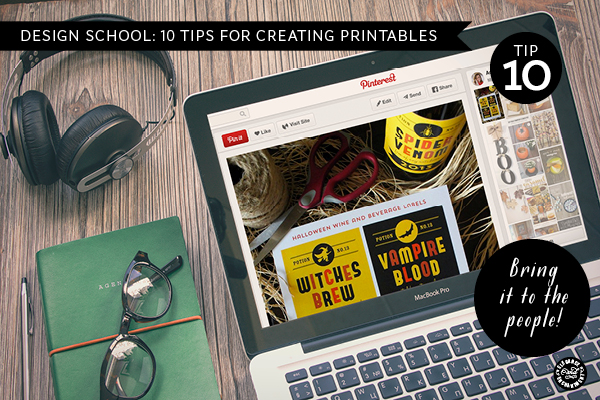
10. Share, share, everywhere
Sometimes when I put my printables out online and share them on my social media feeds, I expect the masses to come running. After all, doesn’t everyone need retro-styled printable Halloween labels for their wine bottles? Pan to me sitting in an empty room. 🙁 Over time, I learned that there are other places outside of Twitter and Facebook to share the stuff you just worked so hard to create. Craftgawker is an awesome, awesome place to post your projects as well as get inspiration from other bloggers. Consider “attending” a link party where a bunch of bloggers get together for a virtual gathering every week. You can see the parties I attend here— stop by and say hi! Lastly, Pinterest is the mother of all meccas for printable projects. Of all the places you share, make sure you post it there. If we aren’t friends on Pinterest yet, let’s link up so I can share your stuff to my printables board!
I hope these tips have been helpful to you. If you still have questions about creating your own printables, please feel free to pick my brain in the comments section below. If you are a fellow printable pro and can school me in a couple of tips of your own, please share with the class. Happy Printable-ing!

This post contains affiliate links. If you purchase through these links, you’ll help support Elegance & Enchantment, and you’ll receive some amazing stuff, too. Whohoo!