I kicked off the year by sharing some goals and dreams for 2015. One of the most important of these was to get back in touch with my artistic roots, which I quickly decided would be much more fun to do with friends. And so began the Creative Challenge— a way for creatives from around the world, to come together online and tackle one artistic project per month.
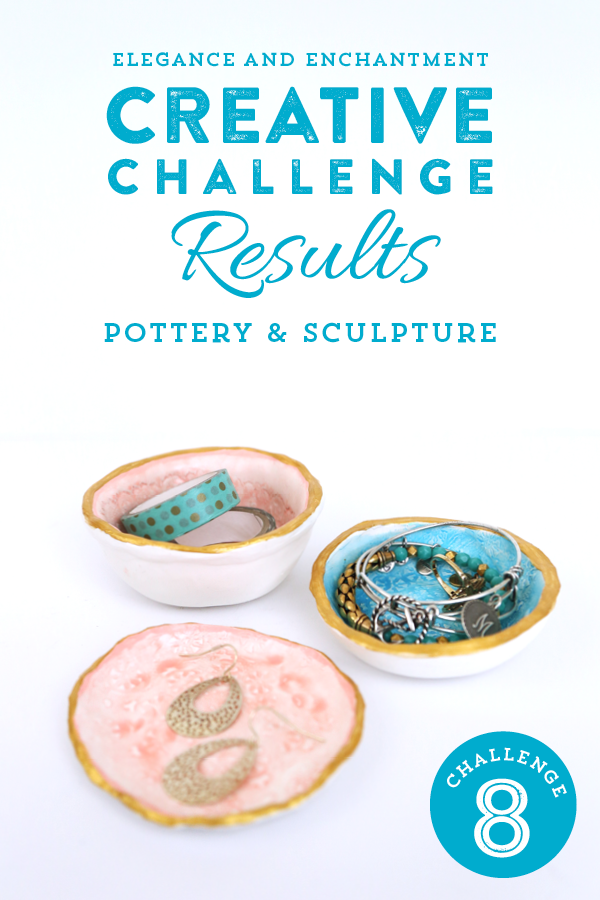
Challenge #8: Pottery and Sculpture
When I came up with my list of projects that I wanted to tackle this year, I wrote this one down and immediately regretted it. When I think of pottery and sculpture I picture sitting down at a pottery wheel, wearing an apron and my hands covered in wet, messy clay that gets stuck under your fingernails for weeks. Have I mentioned that I hate getting my hands dirty?
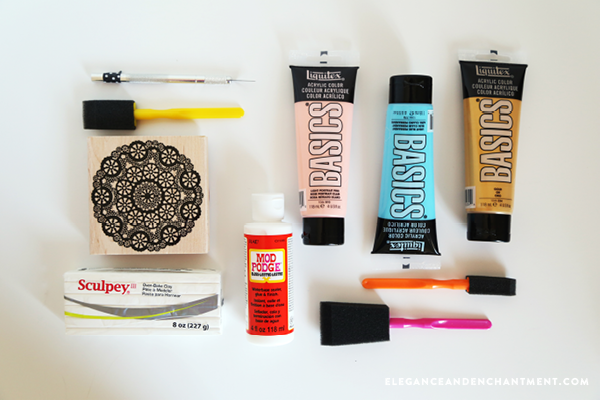
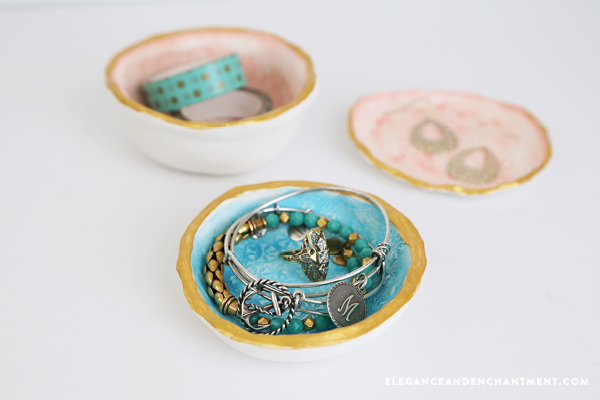
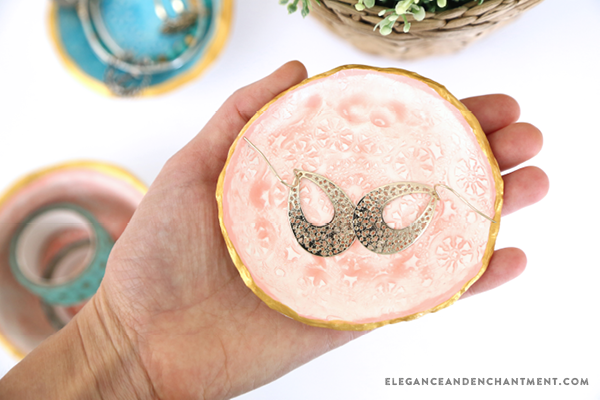
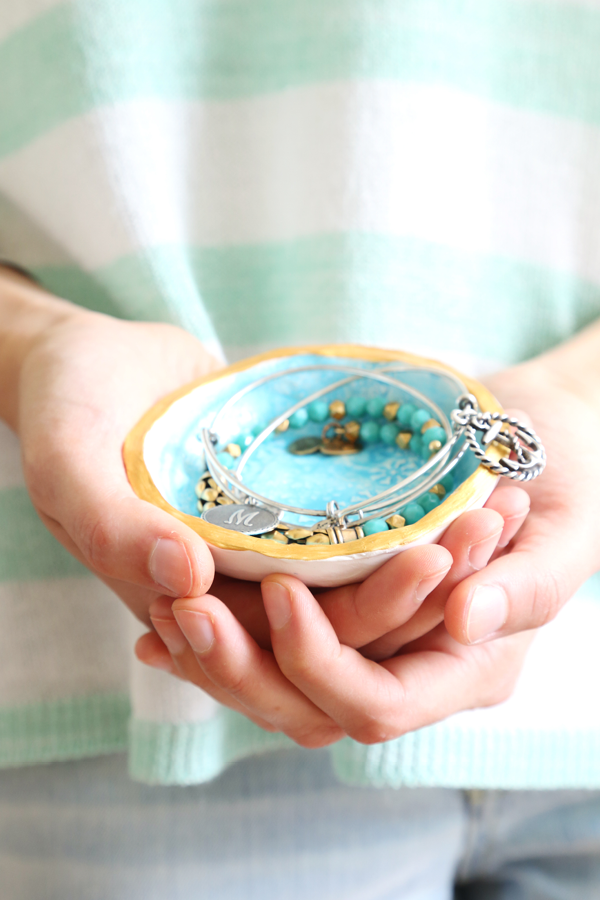
After last month’s near disaster of a project, I vowed to take it really easy on myself this time around by choosing to work with polymer clay. As a kid, my sisters and I would use it sculpt little people, creatures and mini-food items for our dollhouse. While I was tempted to recreate scenes from my childhood, the adult in me wanted to create something that would actually be useful when I was done with it. I came across this tutorial for jewelry dishes, made from polymer clay and a bit of acrylic paint. Something I could handle, and that wouldn’t create too much of a mess. Win-win.
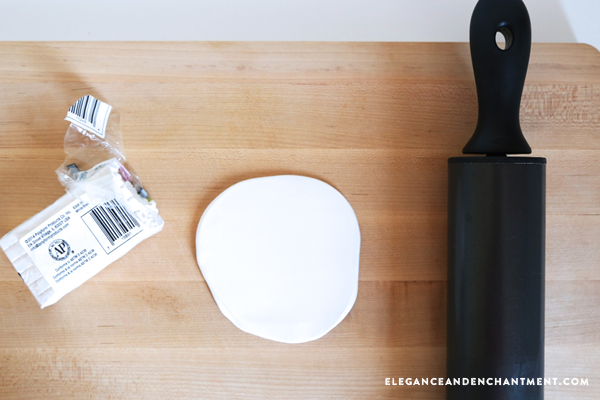
I picked up all the materials I needed, soon after I finished Creative Challenge 7— and like I always do, waited until a few days before this post went up to actually work on my project, despite my attempts to get ahead. I started by rolling out about half a package of white clay out to about 1/4″ thickness.
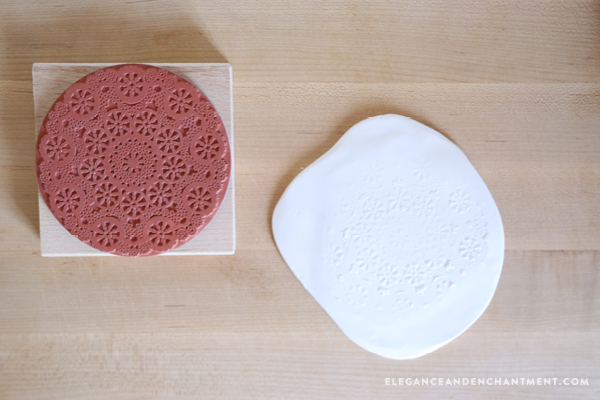
Next, I laid the stamp on top of the clay, being careful not to press too hard so I wouldn’t break through. I obviously underestimated how weak I am, because when I lifted it up, the only thing imprinted into the clay was kitty hair. Awesome. I tried again, only this time standing on a stool and pressing down much harder. It still didn’t make as much of an imprint as I would have liked, but I was starting to get impatient and thought I could try again on the second piece.
I repeated this process two more times, once with a larger piece of clay and one with a smaller one. It wasn’t my intention to make three different sized dishes, but in the effort to keep this project a peaceful one, I rolled with it. Using an existing small bowl that I currently keep my jewelry in, I pressed each piece of clay into the interior to help it take on that bowl shape.
Once it had formed, I slowly pulled the polymer clay away from the bowl, and then ran an x-acto knife around the rim so that the height was consistent all the way around. I let myself be okay with the fact that these were not going to look as good as the bowls in the tutorial I was following, and told myself that I was going for a “rustic” look. The mind games we artists play, right?
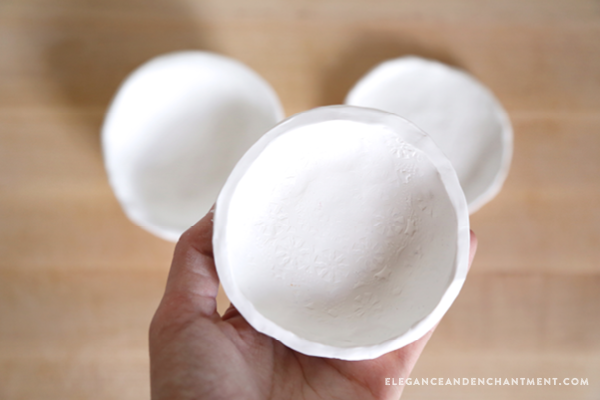
Using my thumb and forefinger, I tried my best to smooth and even out the rims so they didn’t completely look like a 4 year old had made them. When I was done, I ended up with one larger bowl with a small rim, a medium bowl with a thick rim, and an even smaller bowl with a smaller rim, that was looking much more like a dish.
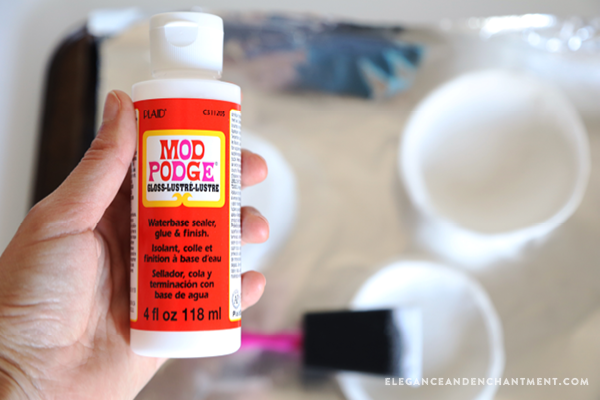
With the bowls/dish formed as good as I could get them, I took out my Mod Podge. I’ve never used Mod Podge before in my life but I’ve seen all over Pinterest, in DIY-Craft projects and have even found entire blogs dedicated to this magical concoction. If you aren’t familiar with the stuff, it looks and smells a lot like Elmer’s Glue, and also dries clear like it— but has the added bonus of protecting your piece with a nice shiny finish. The bloggers didn’t lie— it’s pretty darn awesome.
The Mod Podge dried really quickly and it was time to apply some color to the inside of the bowls. I chose a blush pink and a light blue and watered both of them down, to create more of a painterly look, to keep with my “rustic” feel. When they had been painted and dried, I brought out my gold acrylic paint and applied a thin layer of paint around the rim of each bowl.
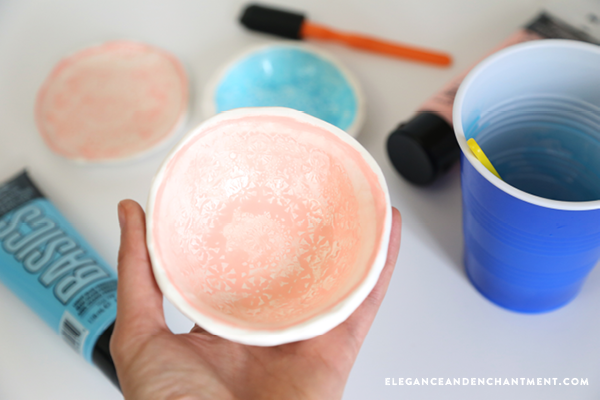
The tutorial I had been following had suggested using gold leaf at this point, but it wasn’t a material I was familiar with, and I was really hoping to keep this project as simple as possible. To create that illusion of gold leaf, I painted a total of three layers of gold acrylic paint and it ended up looking quite lovely.
I’d love to try this project out again, different stamps, colors and of course refining my skills to hopefully end up with something that looks a little more Anthropologie and a little less 2nd grade art project.
It turns out that the Creative Challenge Community wasn’t all that jazzed about pottery and sculpture either, but I had a couple of our gals join me in creating their own awesome projects which you can see below.
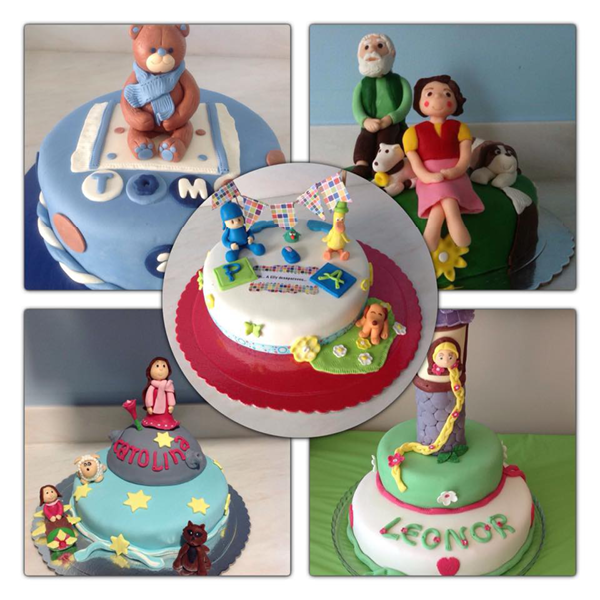
Photo Credit: Alexandra
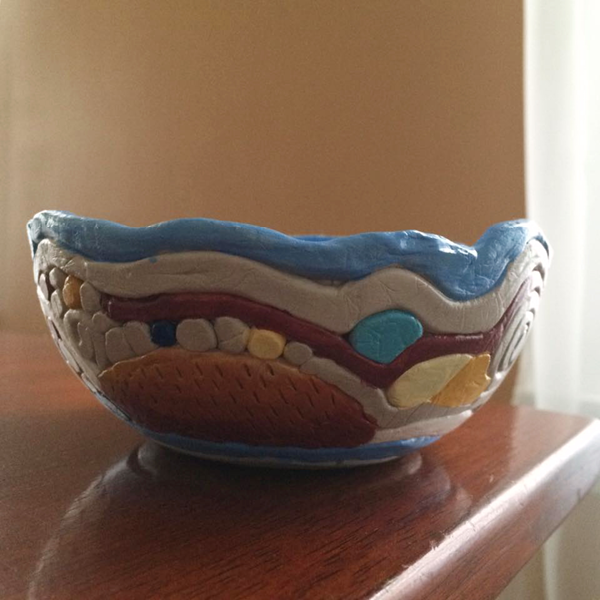
Photo Credit: Joyce
In our community, we are all about letting our projects splash from one month into another. Here are a few other non-pottery/sculpture projects that were created this month:
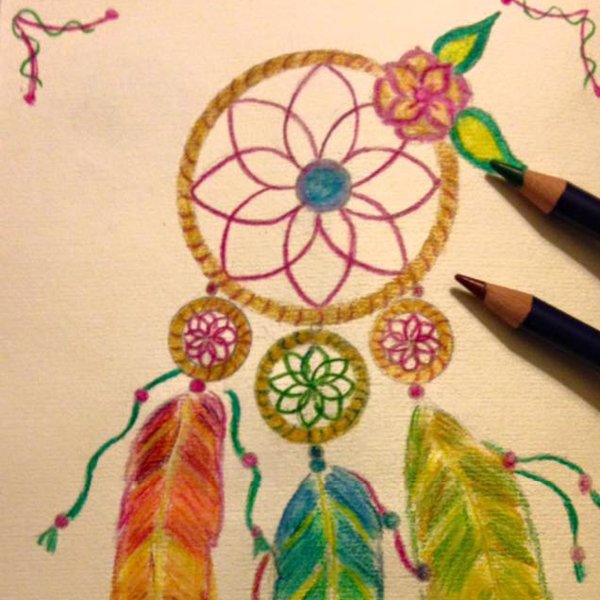
Photo Credit: Alexandra
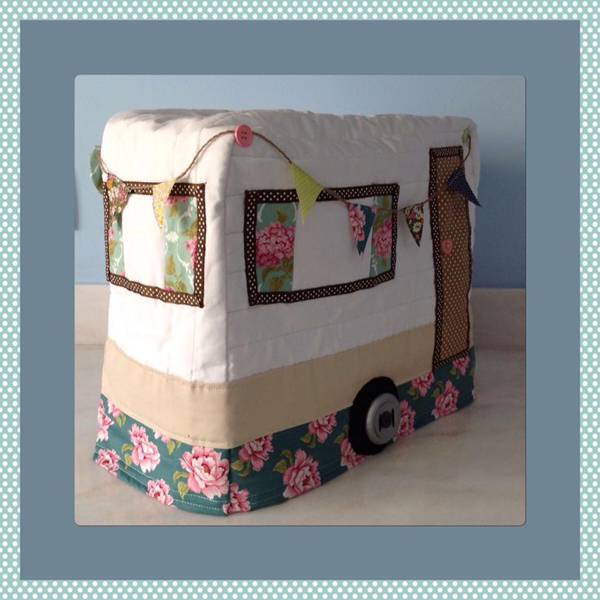
Photo Credit: Alexandra
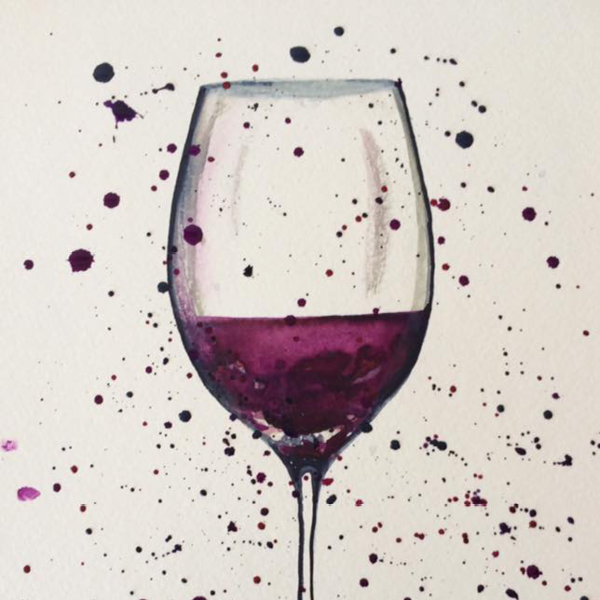
Photo Credit: Gina
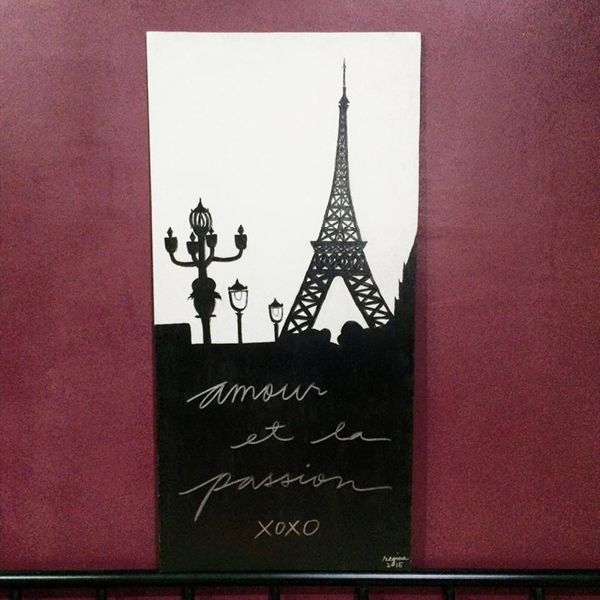
Photo Credit: Regina
Photo Credit: Suzanne
Our ninth challenge (mixed media) is already underway! If you’d like to join in on this challenge, or any of the other challenges planned for the year, we would LOVE to have you on board. Until next month…#gocreatives

This post contains affiliate links. If you purchase through these links, you’ll help support Elegance & Enchantment, and you’ll receive some amazing stuff, too. Whohoo!
