In my 10+ years of being a graphic designer, and 5+ years of creating wedding invitations and stationery, I’ve hit quite a few bumps along the road when it came to printing, construction, assembly and sometimes (wo)man handling. While I will never stop learning and coming across new ideas, I’d like to think I have mastered the art of wedding invitation construction (not quite perfected it, but close). In a series of posts this year, I’ll be sharing my tips and secrets to creating your own wedding invitations and stationery.
Today’s tip is all about adhesives. The sticky stuff that we use to add matting, ribbons, layers and more can be a big headache if you aren’t using the best product or applying it in the correct way. Here’s a breakdown of the adhesives I have found to be the best:
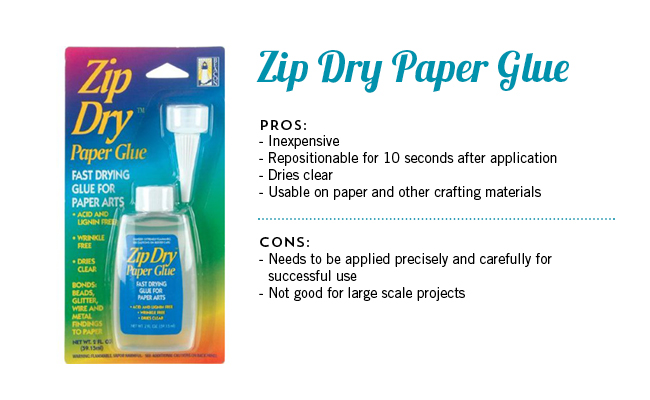
1. Zip Dry Paper Glue
If you are going to use glue in liquid form, this is the way to go. This adhesive is formulated specifically for paper but can also work with small embellishments.
Pros: Inexpensive (around $5.00-$6.00 USD) and sets after 10 seconds, which gives you time to readjust before it’s permanent.
Cons: Must be used very precisely in order for it to work. Use small continuous dots of glue to create a line. Using too much will result in it bleeding through the paper and ruin your piece.[divider]
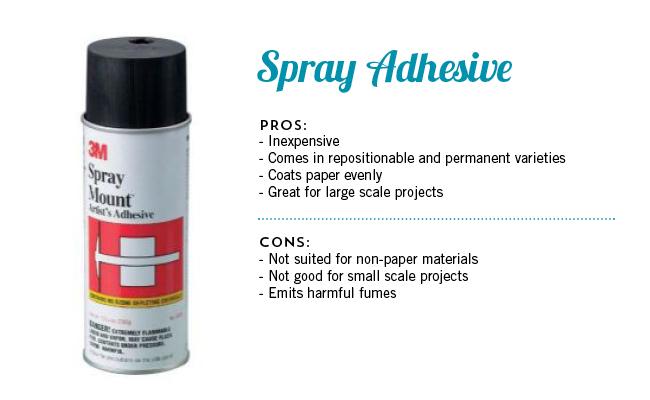
2. Spray Adhesive
This glue is essentially rubber cement that comes in a can. It works great for matting/layering larger sheets of paper (4″ x 6″ and up) and is available in permanent and repositionable varieties.
Pros: Inexpensive (around $7.00-$15.00 USD) and makes it easy to apply an even coat to your paper.
Cons: The biggest downside are the health risks associated with breathing in the fumes from the spray. Always make sure that you are using spray adhesive outdoors or in a very well ventilated area. Spray adhesive also isn’t the best choice for matting smaller pieces of paper. You will end up with more glue on your fingers than the page. [divider]
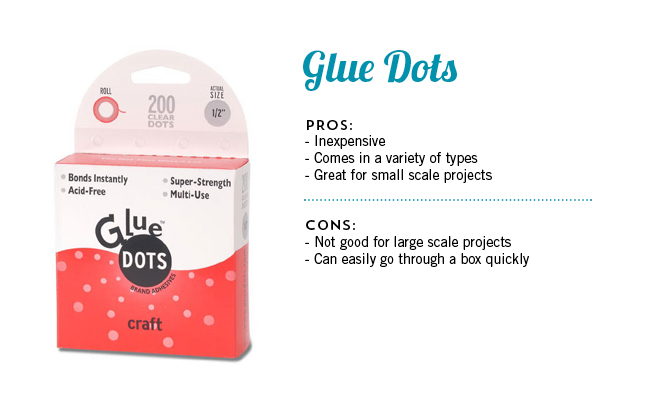
3. Glue Dots
These small circles of glue tape come in a roll and can be used individually or rolled out in a line to cover a larger surface area.
Pros: Inexpensive and great for smaller projects ($4.00-$12.00 USD depending on the variety). They don’t make a mess and are easy to apply. Best for adhering small embellishments or squares of paper (for something like a tag).
Cons: Not good for larger projects like matting invitations because of the quantity you will need to use. Make sure to purchase the variety that is most appropriate for your needs (i.e., permanent, temporary, extra large, etc.) for the most effective results.[divider]
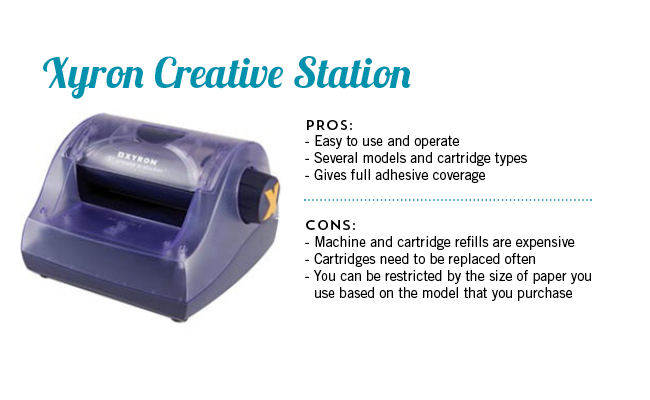
4. Xyron Creative Station
This easy to use “sticker maker” machine comes in several different sizes and yields excellent, even glue coverage. It works by feeding your paper face up through the machine while turning it’s crank. As the paper is fed through, a layer of adhesive is attached to the back of your page. Simply peel off your paper from the sticker paper backing and attach. Different varieties of sticker paper are available, including laminate and magnet paper.
Pros: Gives complete and even adhesive coverage to your paper. The machine is easy to use and operate.
Cons: The machine itself is an investment (between $25.00-$80.00 USD) as well as the cartridges (between $15.00-$30.00) that I went through pretty quickly. Will not work for attaching embellishments or anything large scale (the largest machine allows a width of 9″). [divider]
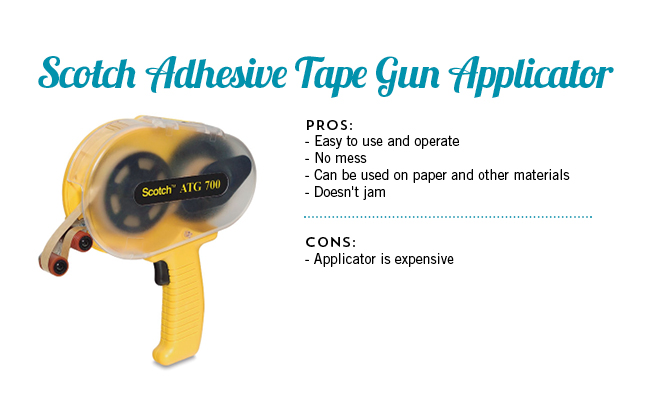
5. Scotch Adhesive Tape Gun Applicator
I call this the holy grail of all adhesive applicators. After trying all of the aforementioned adhesives, the Scotch Tape Gun takes the cake, and is the only tool I currently use for my wedding invitation assembly. This device is armed with double sided tape/glue that is dispensed by pulling on a trigger. The tape rolls easily onto whatever surface you need it to. It’s designed for paper, but I have also used it on ribbon, fabric and other embellishments. My only regret is that I didn’t start using one sooner as it would have saved me from years of frustration!
Pros: Too many to list. This is the most versatile and easy to use adhesive on the market. Works for crafting projects large and small, and will not make a mess. Any residue that’s left on the page rubs off easily and leaves no trace.
Cons: Not available for purchase in most craft stores. The dispenser runs around $50.00 USD and the tape refills are $6.00-$9.00 USD, but will last you awhile, depending on the project.[divider]
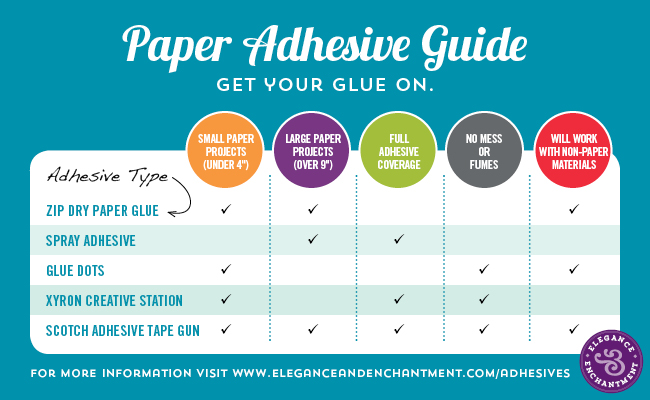
Still aren’t sure which adhesive is best for your project? Use this chart below to help!
Which adhesives have you found to work the best for your DIY paper and craft projects? Any other solutions I should check out?

