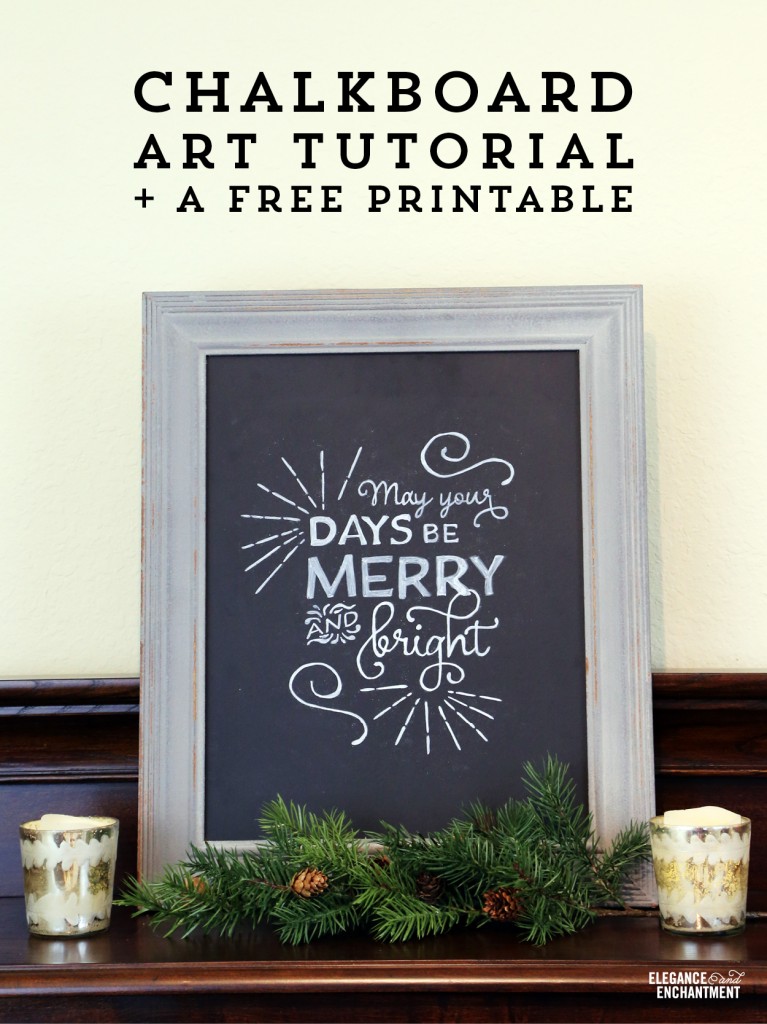
After hearing that chalkboard art wasn’t nearly as difficult as I thought it was, I began a quest to create my own sign. I started with lots of research— finding the best methods and the proper tools to use, which I shared in this post a couple weeks ago. In that post, I mentioned that I’d be sharing the results of my own “chalkboard experiment” the following week. Had I published in the timeline that I promised, the post would have been titled: “The Great Chalkboard Disaster”, subtitle, “Michelle is a failure”. Here’s how things started…
 I purchased a big old cheap chalkboard (17″ x 23″) from Michael’s thinking that I didn’t need anything fancy because my artwork was going to be the focus point of the piece. I designed my print at the 17″ x 23″ dimensions and “tiled” the printing since I knew an 8.5 x 11 wouldn’t come close to filling up the board. It took a good 45 minutes to get it all printed, trimmed and taped together. I then rubbed the back side of the poster I had created with chalk, as the tutorials I found suggested, and then taped the page to the chalkboard. I started tracing each letter and some of the bottom elements with a pencil and really didn’t want to even peek to see how the image was translating on the board because I was afraid of shifting the page. MISTAKE.
After about a half hour, my curiosity had gotten the best of me. I lifted up the page, expecting to see my beautiful artwork come to life. Instead: NOTHING. Not even a trace of the design was appearing on the board. I put the page back down and pressed harder with my pencil. Still nothing. I started to question if I had even purchased a chalkboard and looked a little bit closer at it. It was a chalkboard but it felt like it had some sort of plastic coating on it. Whatever it was, even drawing with actual chalk on it barely took. I hate to be negative, but if you are attempting this project, do not try it on this chalkboard.
So back to square one. I went out to HomeGoods and found the awesome chalkboard/frame combo that you see below, for less money than the original. The surface felt legit and I knew I was already off to a better start.
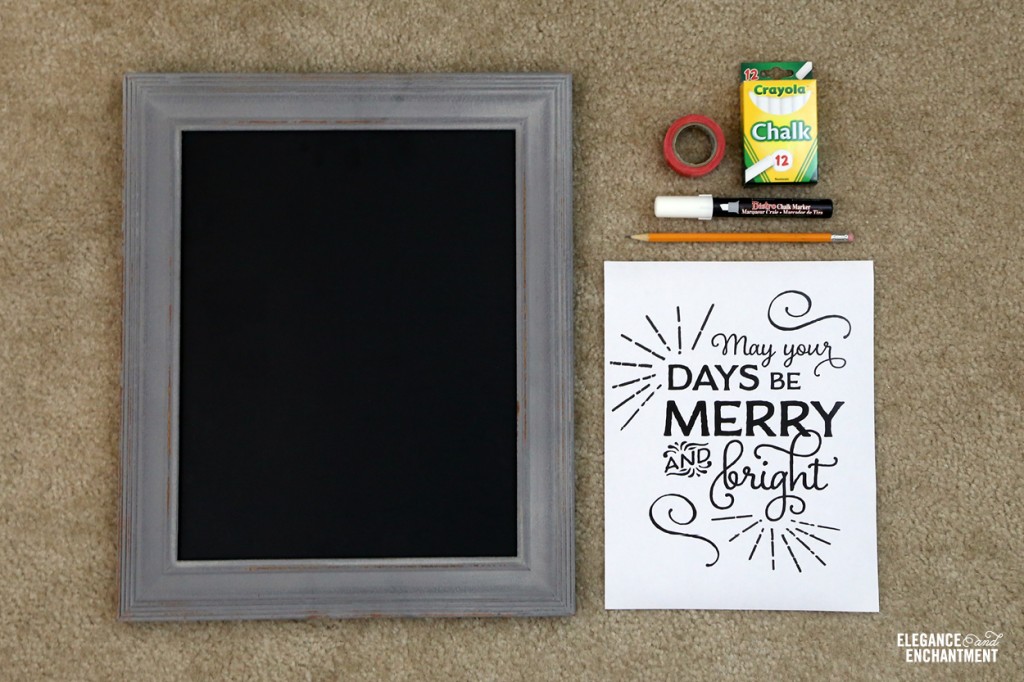
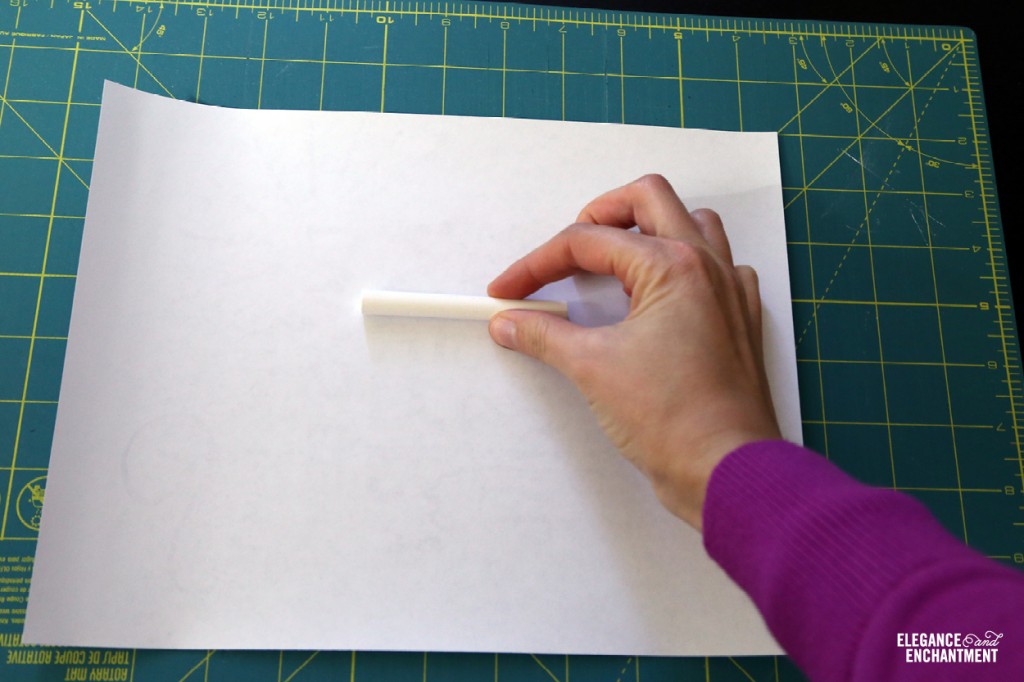
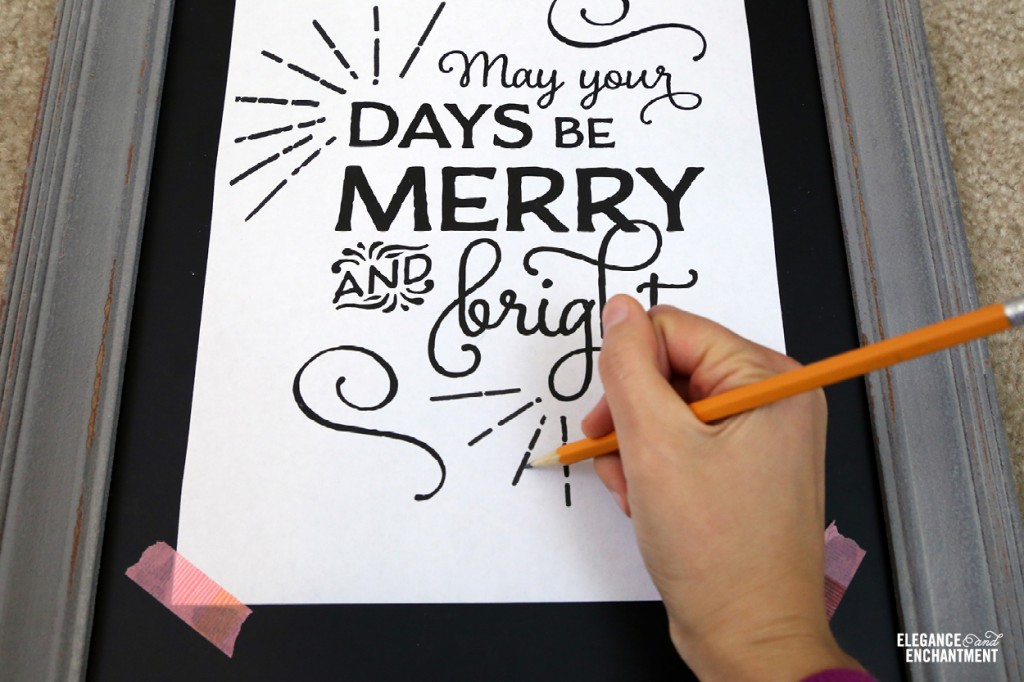
I liked this board a lot better because I could shrink the page down to 8.5 x 11 and not have to deal with the page tiling nonsense. I followed the exact same steps as I did with the first attempt, starting with printing the design and completely covering the back with chalk.
Next, I taped the design to the chalkboard, which was a much better fit. The washi tape wasn’t to try to be pretty. I ran out of regular tape in the first run assembling all those pages together!
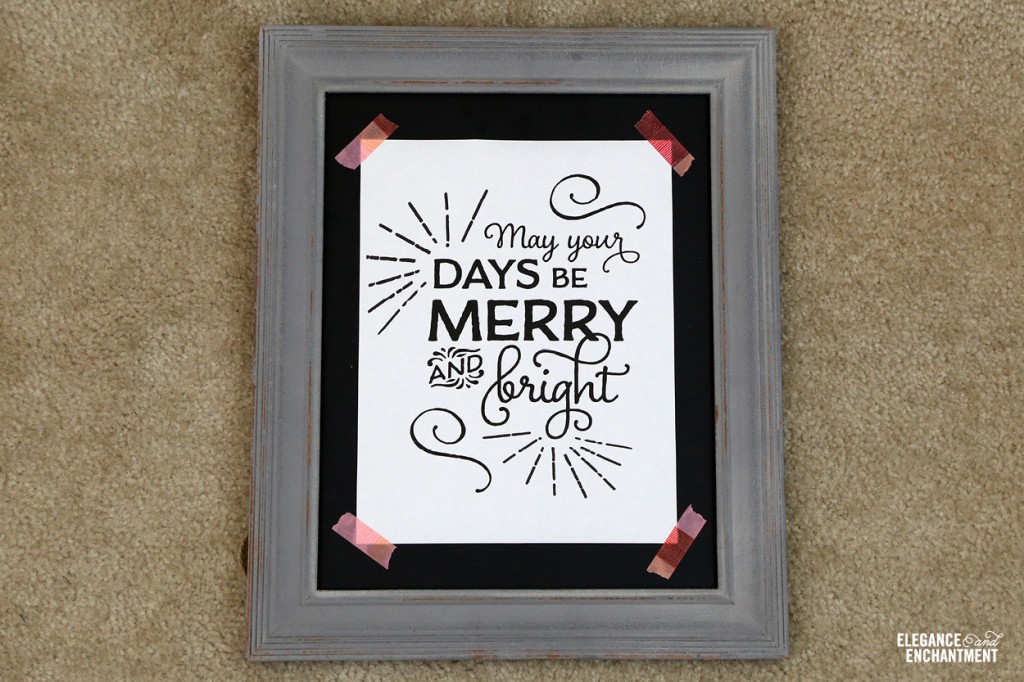
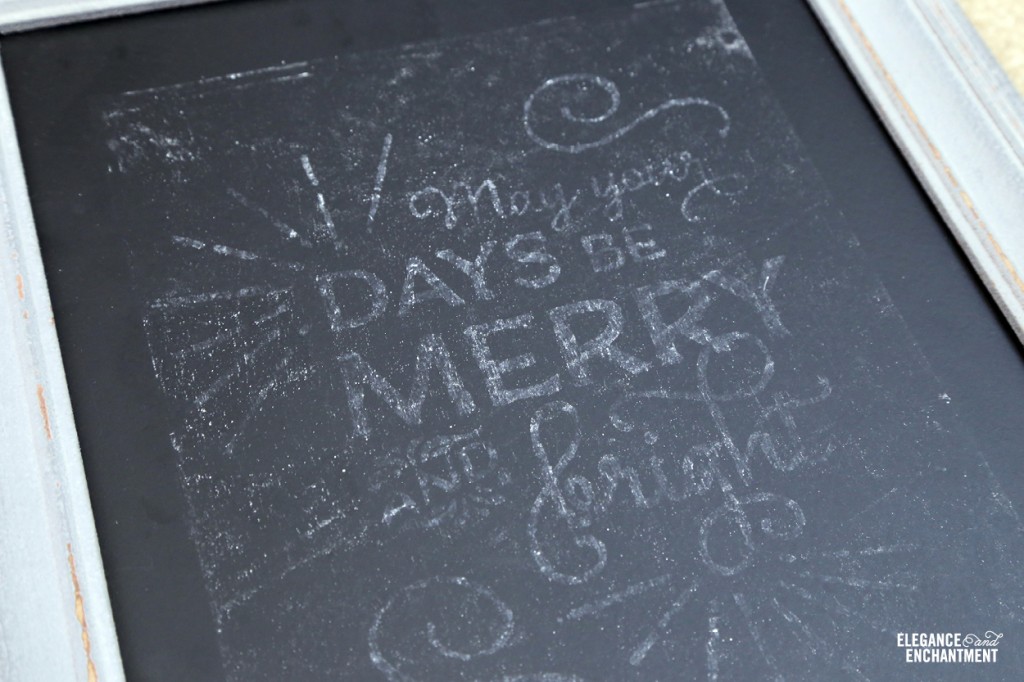
This time, I only began tracing over one small section before I lifted the page to make sure it was translating on the board. It was pretty faint but it was there! It took a little more than an hour to go over the entire design. While it took awhile to complete, it was a nice change from computer work and I actually found it to be relaxing. It brought me back to my days of art school and designing everything by hand.
When I had completely finished tracing over every letter and element, I carefully lifted up the paper and set it aside. I knew that after tracing the entire piece, that it was going to be nearly impossible to go over it all with a piece of chalk because of how small the details were.

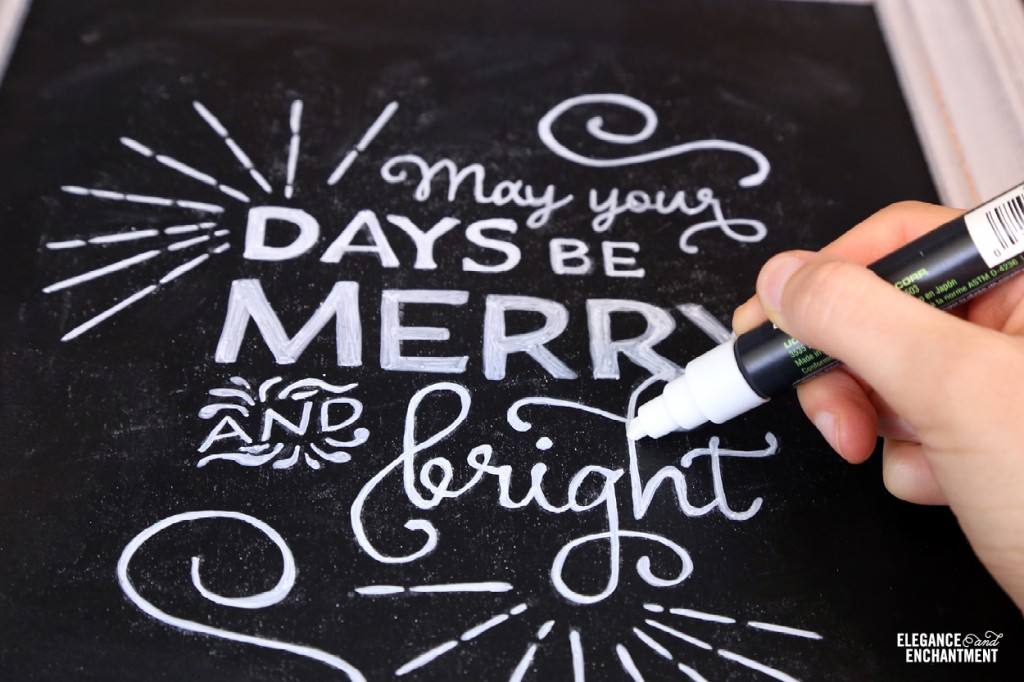
I was so happy that I had decided to purchase a chalkboard marker because I knew it’s fine point would be much easier to work with. I followed the instructions by shaking the marker and then pushing on the tip to start the flow of ink. I tested it out in the corner of this board, and another smaller board that I had in my office. And nothing was appearing. Here’s where I started to get nervous. Again. Without turning this into a Motivation Monday, I have really found that when I anticipate that I’m going to fail at something, I usually do.
I’m not much of a hands-on DIYer and after the rocky start to this project and then not getting the marker to work, I was vowing to stay far away from future do-it-yourself projects, and sticking to the computer where I was comfortable. I walked away from the board as it stood, contemplating if I should attempt to go over the entire thing with chalk (which would likely result in a smeared mess), go out and try to buy a different type of marker, or just ditch the entire project and apologize to my readers for failing at this project.
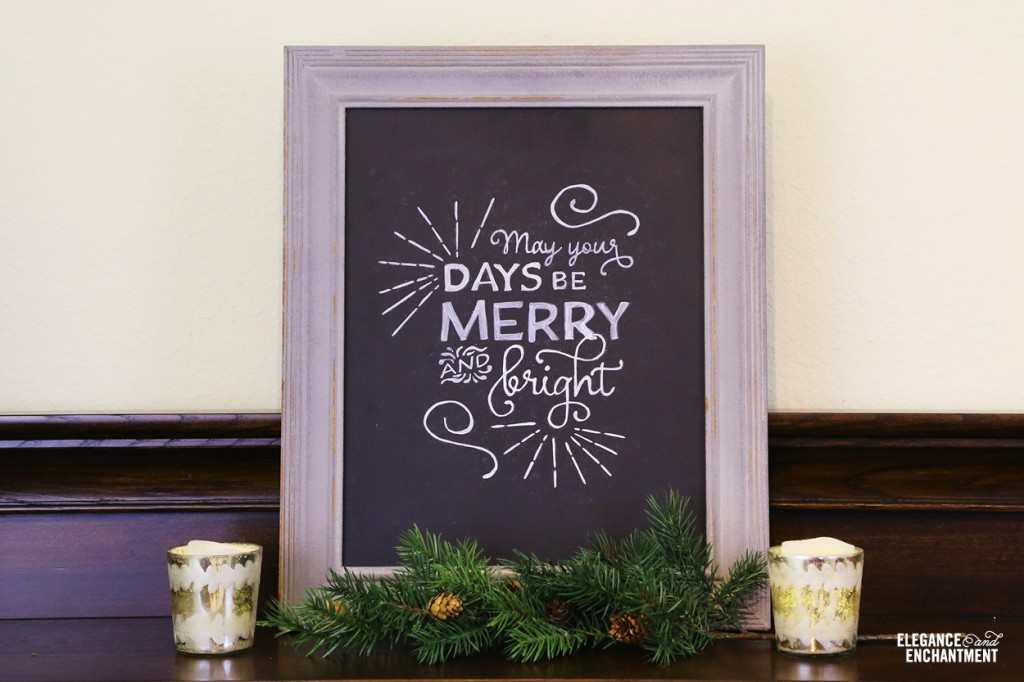
A couple hours later, I came back to the marker and gave it one last shot. And amazingly, it started working! Maybe I just hadn’t given it enough time for the liquid to start flowing. Whatever it was, I didn’t care. It was working and it looked good. Like really, really good. This was the best and most fun part of the process! Once I got it to start working it was super easy to work with and I was done in no time. You can find the chalkboard marker that I used here.
Now that I’ve gone through all the steps, even with my hiccups, I can honestly say this was an easy project, as long as you have the right materials. Would it try it again? Maaaaybe. Or this may just stay up through the spring.
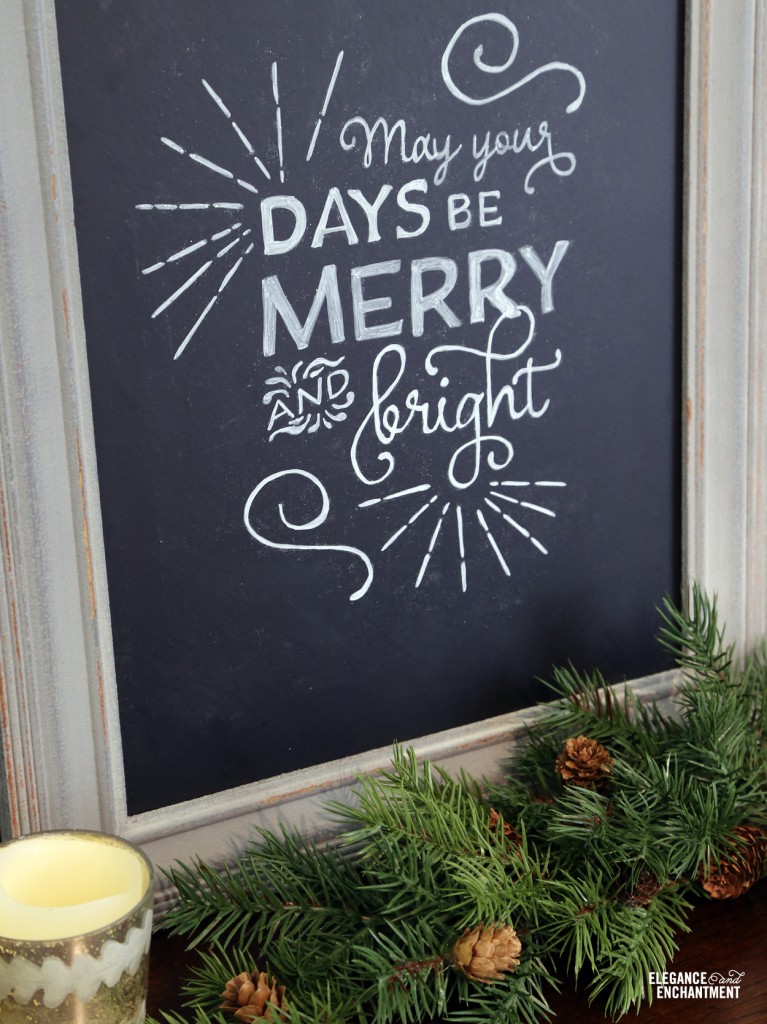
Download the 8.5 x 11 artwork I used in this post here
Skip the work and download an 8 x 10 version that looks like a chalkboard here
Fonts used in the artwork all came from the Charcuterie family
Have you attempted any of your own chalkboard art? Please share in the comments section!

This post contains affiliate links. If you purchase through these links, you’ll help support Elegance & Enchantment, and you’ll receive some amazing fonts, too. Whohoo!
| Want even more pretty printables? |
|---|
| If you love free printable designs and want to make sure you don’t miss out on a single one, join my mailing list and they will be sent right to your inbox. |
